Ignition Rendering

API Reference

5.1.0
Actor animation tutorial

This tutorial will show you how to use the Ignition Rendering library to create an actor animation.

Compile and run the example

Clone the source code, Create a build directory and use cmake and make to compile the code:

git clone https://github.com/ignitionrobotics/ign-rendering
cd ign-rendering/examples/actor_animation
mkdir build
cd build
cmake ..
make

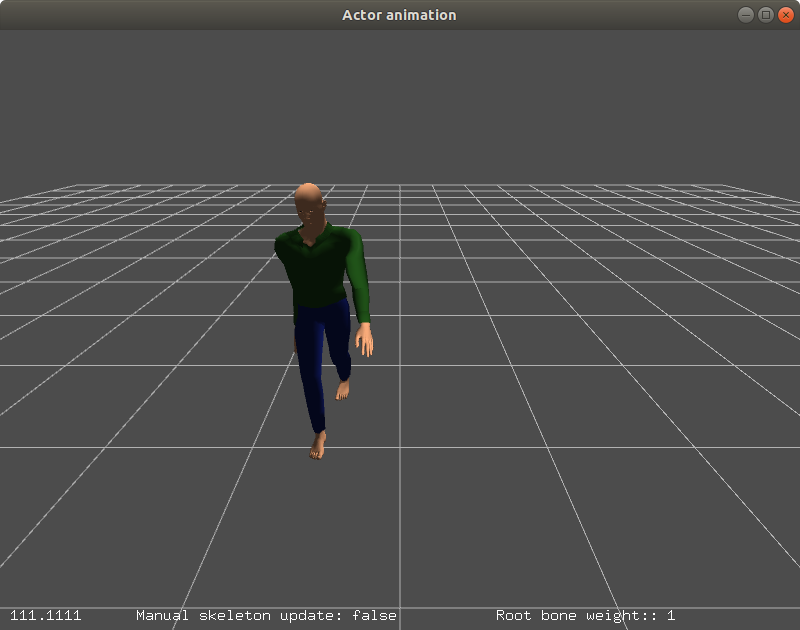
When the code is compiled you can execute the example with the following command. Using the left and right button of the mouse you can move around the scene and zoom in and out.

./actor_animation
actor_animation.png

Code

In this section we will describe the main classes and methods used to create the actor. The basic steps are:

  • Load the mesh with animations
  • Create the actor visual
  • Load the mesh into the render engine
  • Attach the mesh to the actor visual
  • Animate the skeleton

Create a MeshDescriptor class with the mesh name of the actor, then using the MeshManager Singleton class, load the mesh and its animations using the descriptor:

ignmsg << "Creating mesh with animations..." << std::endl;
MeshDescriptor descriptor;
descriptor.meshName = common::joinPaths(RESOURCE_PATH, "walk.dae");
common::MeshManager *meshManager = common::MeshManager::Instance();
descriptor.mesh = meshManager->Load(descriptor.meshName);

The mesh is now loaded with all animations. You can also add additional animations to the mesh:

std::string bvhFile = common::joinPaths(RESOURCE_PATH, "cmu-13_26.bvh");
double scale = 0.055;
_skel = descriptor.mesh->MeshSkeleton();
_skel->AddBvhAnimation(bvhFile, scale);
if (_skel->AnimationCount() == 0)
{
ignerr << "Failed to load animation." << std::endl;
return;
}
ignmsg << "Loaded animations: " << std::endl;
for (unsigned int i = 0; i < _skel->AnimationCount(); ++i)
ignmsg << " * " << _skel->Animation(i)->Name() << std::endl;

Create a Visual pointer with the scene manager and set the position and rotation of the visual:

std::string actorName = "actor" + std::to_string(count++);
VisualPtr actorVisual = _scene->CreateVisual(actorName);
actorVisual->SetLocalPosition(x, y, 0);
actorVisual->SetLocalRotation(0, 0, 3.14);

Create the mesh in ign-rendering - this loads the animations into the render engine

auto mesh = _scene->CreateMesh(descriptor);
if (!mesh)
{
std::cerr << "Failed to load mesh with animation." << std::endl;
return;
}

Finally, attach the mesh to the visual and add the visual to the scene:

actorVisual->AddGeometry(mesh);
root->AddChild(actorVisual);

There are two ways to play the animations:

  • Update animation time: The first method is to advance the time every iteration and let the render engine handle the animations.
ir::MeshPtr mesh =
std::dynamic_pointer_cast<ir::Mesh>(v->GeometryByIndex(0));
mesh->UpdateSkeletonAnimation(
std::chrono::duration_cast<std::chrono::steady_clock::duration>(
  • Update bone pose: The second and more involved method is to manually compute and set the bone pose over time.
animFrames = g_skelAnim->PoseAt(_time, true);
for (auto pair : animFrames)
{
std::string animNodeName = pair.first;
auto animTf = pair.second;
std::string skinName =
g_skel->NodeNameAnimToSkin(g_animIdx, animNodeName);
g_skel->AlignTranslation(g_animIdx, animNodeName)
* animTf * g_skel->AlignRotation(g_animIdx, animNodeName);
skinFrames[skinName] = skinTf;
}
// set bone transforms
ir::MeshPtr mesh =
std::dynamic_pointer_cast<ir::Mesh>(v->GeometryByIndex(0));
mesh->SetSkeletonLocalTransforms(skinFrames);